For Beginner Course Creators and Youtubers
When I first started making videos for online courses and Youtube, I was overwhelmed by the tech. I looked for articles to help simplify it. All I found were super-techy reviews of equipment that looked overly complicated and often came with a high price tag. It was SUPER intimidating to an online business novice (and tech-phobic person) like me. That is why I created this guide for beginners to finding affordable and easy tech ANYONE can use!
In the Beginning
I experimented with a TON of technology before settling on what I use now for content creation and my online courses. Given I teach financial literacy and responsible spending to business owners, I’m also super cost conscious and always on the lookout for a good deal. There was no way I was going to be shelling out thousands to get my business off the ground. I knew there was a better way!
Below you’ll find affordable and easy tech solutions for professional live and recorded video. I have even included the best all-in-one solution I’ve found for email management and hosting my courses.
Live Video Streaming service
Recommended: Streamyard for both Facebook Lives and Youtube Lives. Streamyard is SUPER easy to use. It seamlessly allows you to have up to 6-10 guests on your Live and/or share your screen for your audience (great for slideshows, etc). While I try to use the free version of software as much as possible (as I remind my husband…I’m not cheap, I’m thrifty!), for Streamyard I think the paid Basic package is well worth it at $25 a month. The paid version has some fantastic features that the free version doesn’t, such as unlimited streaming, video recording, and the ability to stream in multiple places at once. (SUPER helpful as I often stream live to my Facebook group, Facebook business page, and Youtube channel all at the same time…seamlessly!).
Sign up with my coupon code to save $10 on Streamyard!
NOT recommend: BeLive. I used this before I used Streamyard and had a LOT of technical glitches with it. Often the sound wouldn’t work or the picture would be choppy. The last straw was when BeLive didn’t shut it off when I ended my live stream. Thankfully I was alerted fairly quickly that I was still live on camera (and didn’t say or do anything TOO embarrassing). But it took FORTY MINUTES to get the live to shut down. Not frustrating AT ALL…
Microphone for Lives
When going live from my phone, I use this affordable lavalier microphone to attach to my lapel to increase sound quality. And when going live from my computer, I use my Blue Yeti microphone (see more below under microphones for recording).
Simple Editing Software for Recorded Video
Confession for you – editing was really intimidating for me when I first started making videos. Now its actually one of the things I enjoy most – it’s almost therapeutic! That said, the best editing software depends on the type of computer you are using, as some are more compatible than others. Keep reading to find the best affordable and easy tech for your computer.
For PC: Camtasia. When I first started editing I had a PC and purchased Camtasia editing software. I found it extremely easy to navigate, even for a beginner. I didn’t get overly fancy in my editing techniques at this point, but I loved Camtasia for the ease of basic editing. Way less complicated than I expected (thanks Youtube!)
Check it out and start your free Camtasia trial here!
For Mac: Screenflow. When I switched to a Mac, I tried to continue using Camtasia but had some issues where the video would freeze part way through (though I wouldn’t realize it until the end of my recording, which led to a LOT of lost time and frustration). Upon researching it, this appears to be a common issue with Camtasia on a Mac. So I bit the bullet and switched to Screenflow, which was recommended by a lot of my Mac using course creator friends.
Check it up and start your free Screenflow for Mac trial here!
I’ll admit, it took a little while for my left-brain to understand Screenflow (and my Mac in general), but now that I’ve gotten the hang of it, I love it. It has a TON of functionality and I’ve gotten more comfortable using some of the more “advanced” features, like being able to highlight words on the screen and using the Chrome Key with my green screen to get rid of my background (more on that later). Screenflow really is a fantastic product at a super reasonable price.
Microphone for recording:
Blue Yeti Mic – this is one of the most commonly used microphones for recording courses and podcasts in the industry, and for good reason. The sound quality is fabulous with my Yeti, though truthfully I’m still getting the hang of adjusting things like the “gain”. I pretty much just move the dials around until it sounds decent – super scientific over here! If you will be recording courses or doing a podcast, this is a great quality microphone for much less than I expected to pay. They also have lots of colors so you can coordinate with your backdrop and branding colors if you want (I’ve got the whiteout one).
Not recommended: Using your computer or phone microphone. Much of the time this results in a really distracting echo.
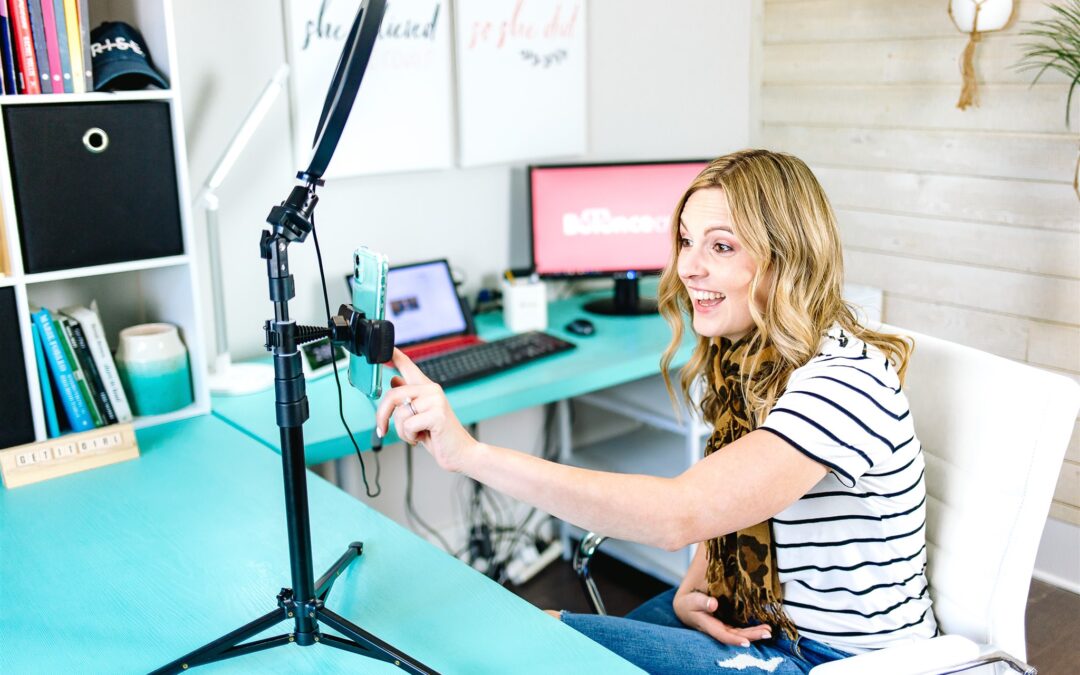
Camera for Recording
This is one area where I think most people can save money on by simplifying, especially in the beginning. If you have a relatively new computer and a quick internet, you likely have a built-in webcam that is sufficient for most live video or recording purposes. I recommend using a wired connection if you can, as wireless connections can be less predictable. If you aren’t happy with your webcam quality, I have heard the best reviews of the Logitech C920S, so you could give that one a try for better quality. I’ve also used my i phone camera in a pinch and the video quality was great. No need to get too fancy or drain your pocketbook on this one! Remember to keep this affordable and easy tech that you can manage.
Lighting for Recording
Lighting makes a HUGE difference when it comes to recording, but it doesn’t have to be complicated or expensive. The best light is always going to be natural light – ideally you want to be facing a window when recording. If you can’t do that (or want to add a little extra lighting), I recommend a large ring light in front of you like this one to take away those shadows and make you look like a movie star! This one is affordable and easy tech for a beginner to use.
If you use your phone for a lot of recording or lives and are on the go a lot, I recommend a smaller more portable ring light/tripod like this one, which is super affordable but makes a big difference!
Not recommended: Overhead lighting. This increases shadows and isn’t super flattering.
Best Computer for Editing and Storage
I was a PC person forever. I resisted switching over to Mac for YEARS. But based on the recommendation of nearly ALL my peers, I thought it was time to try out a Mac. While it took a hot minute to get used to, now I absolutely love it. Macs are fantastic when it comes to recording and editing. I personally have this MacBook Pro and love it – tons of storage, great built-in camera and lightning fast speed.
All in One Course Hosting & Email List Management
The best platform for course hosting, email list management, sales pages, opt-in/landing pages (basically all the things) is hands down Kajabi. Consider Kajabi the Cadillac of all-in-one course platforms. While this one is definitely NOT the most affordable option out there, it is most definitely worth the splurge.
Before Kajabi, I used multi different service providers to do what Kajabi can do all by itself. It simplified everything SO MUCH when I moved to Kajabi. I’ve built my entire sales funnel is managed in Kajabi – from opt-in pages, to email list management and campaigns, to my course sales pages and payment processing. Kajabi also has the best course hosting platform out there in my opinion – super easy for buyers to navigate and tons of beautiful layouts to customize with your own course content. Kajabi has allowed me to automate so much of my business and the investment has paid off 100-fold. HIGHLY recommend!
Get an EXTENDED 28 day free trial by using my link (typical trial is 14 days)
Jamie’s Favorite Extras
This Green Screen is one of my favorite easy-to-use- tech toys. It came with a frame and 2 large studio lights that I use along with my ring light for video recording. I record myself in front of the green screen and then use the Chrome Key function in Screenflow to remove the background so I can do all kinds of fun effects in the background. Check out this Youtube video of me where I used my green screen and see what kinds of things you can do when you have a green screen. I expected this to be WAY more expensive than it was, and for a super affordable price it really helps my videos stand out from the crowd!
Canva – Create beautiful images for social media, slide shows for webinars, freebies, and so so much more! Canva is a LIFESAVER. I do recommend the paid version on this one too, as it provides access to way more images and you can also save your branding colors and custom fonts. It truly is affordable and easy tech for a beginner. Whatever did online business owners do before Canva?!? Use this link to sign up for a 30 day free trial of Canva Pro
Financial Software
Looking for something more finance-related that is still affordable and easy tech for your business? Check out my Preferred Vendors and software list here! This list includes an amazing offer to save 50% on your first YEAR using QuickBooks Online!
Please note that some of the links above are affiliate links, which means I get a little bit of cash for those who use the links. Using my link doesn’t cost you anything, and sometimes it can actually save you money! I only recommend things I have used and love!